

BlueStacks is an Android emulator that allows users to run Android apps and mobile games on Windows and Mac computers. It provides keyboard and mouse controls, multi-instance support, performance optimization, and access to Android applications on a larger desktop display.
Key Features
-
Android App Support: Run Android applications and games directly on a Windows or Mac computer.
-
Custom Game Controls: Configure keyboard and mouse controls for different games and create personalized control layouts.
-
Shooting Mode: Use keyboard and mouse controls for more precise aiming and movement in shooting games.
-
MOBA Mode: Control character movement and abilities using keyboard and mouse input.
-
Multi-Instance: Run multiple Android instances simultaneously to use different apps or games at the same time.
-
Multi-Instance Sync: Synchronize actions across multiple instances to simplify repetitive gameplay.
-
Macros: Record and replay sequences of actions using customizable shortcuts.
-
Eco Mode: Reduce resource usage when running multiple instances.
-
High FPS: Support higher frame rates for smoother gameplay on compatible hardware.
-
HD Graphics: Run supported Android games at high resolutions and improved graphical quality.
-
Smart Controls: Automatically manage cursor behavior in supported games.
-
Screen Recording: Record gameplay and other activity directly from the emulator.
-
Real-Time Translation: Translate supported game content while playing.
User Interface
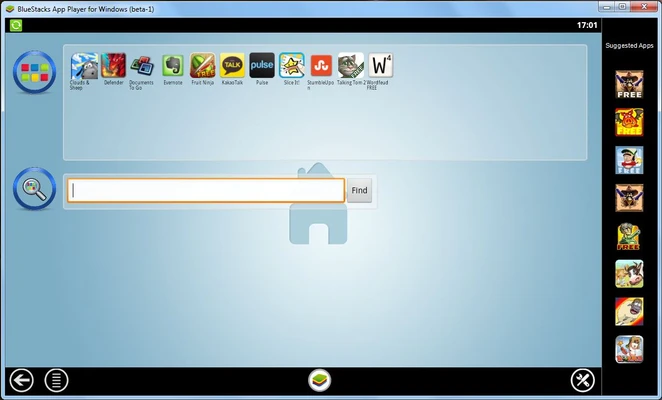
BlueStacks provides a desktop-oriented interface with quick access to installed applications, games, settings, controls, and emulator tools. Its gaming features are integrated into the main interface, making it easy to configure keyboard mappings, launch multiple instances, and adjust performance settings.
Installation and Setup
Download and run the BlueStacks installer, then follow the on-screen setup instructions. After installation, launch the emulator, sign in where required, and configure performance, display, and control settings according to your hardware and preferred games.
How to Use
-
Launch BlueStacks and complete the initial setup.
-
Sign in to your Android account if required.
-
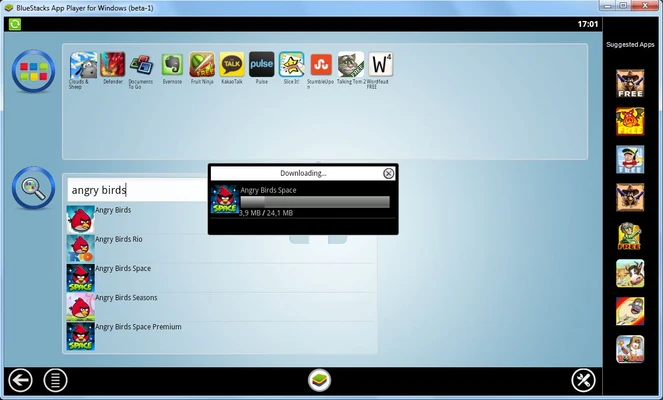
Install Android apps and games through the available app store or supported installation methods.
-
Launch an application from the BlueStacks home screen.
-
Configure keyboard and mouse controls for games that support custom mappings.
-
Adjust performance, graphics, FPS, and other settings when necessary.
-
Create additional instances if you need to run multiple Android environments.
-
Use macros, synchronization, recording, and other tools as needed.
System Requirements
-
Operating System: Windows 10 or Windows 11
-
Processor: Intel or AMD multi-core processor
-
Memory: 8 GB RAM or higher recommended
-
Storage: At least 5 GB of available space; SSD recommended
-
Graphics: Intel, AMD, or NVIDIA graphics hardware
Pros
-
Runs Android apps and games on desktop computers
-
Extensive keyboard and mouse customization
-
Supports multiple Android instances
-
Includes performance optimization features
-
Built-in macros and screen recording
-
Easy to install and use
Cons
-
Can consume significant CPU, RAM, and storage resources
-
Performance depends heavily on the host computer
-
Some apps and games may have compatibility limitations
-
Running multiple instances requires additional system resources
Conclusion
BlueStacks is a feature-rich Android emulator designed primarily for running mobile games and applications on Windows and Mac computers. Its customizable controls, multi-instance support, performance settings, and gaming-oriented tools make it a practical choice for users who want a desktop-based Android experience.